Importing Data
Before you begin
- You are assigned to a user group that at least has the permission Configure data integration.
About this task
In order to use information from an external database in manage.ID, you must first define an import task.
Procedure
- In the side bar, select Data Integration and click Import & Export.
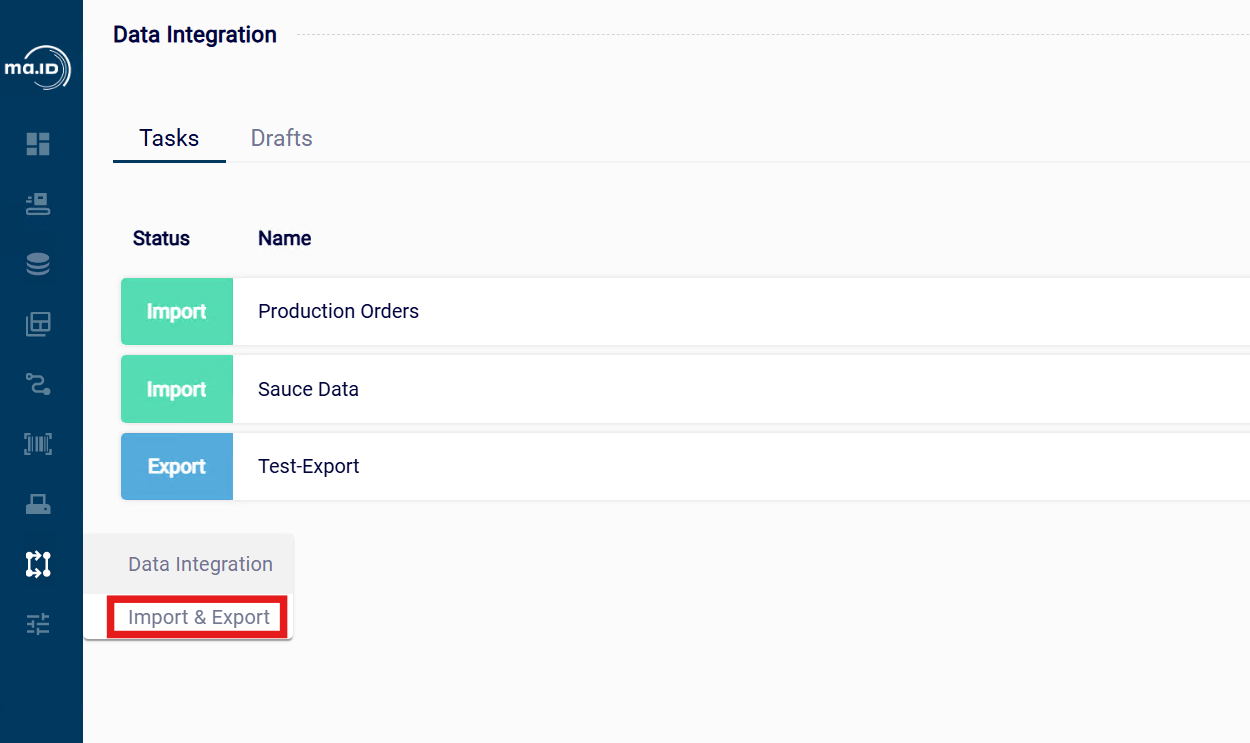 The view Data Integration opens.
2. To add a new task, click the add icon +.
The view New Task opens.
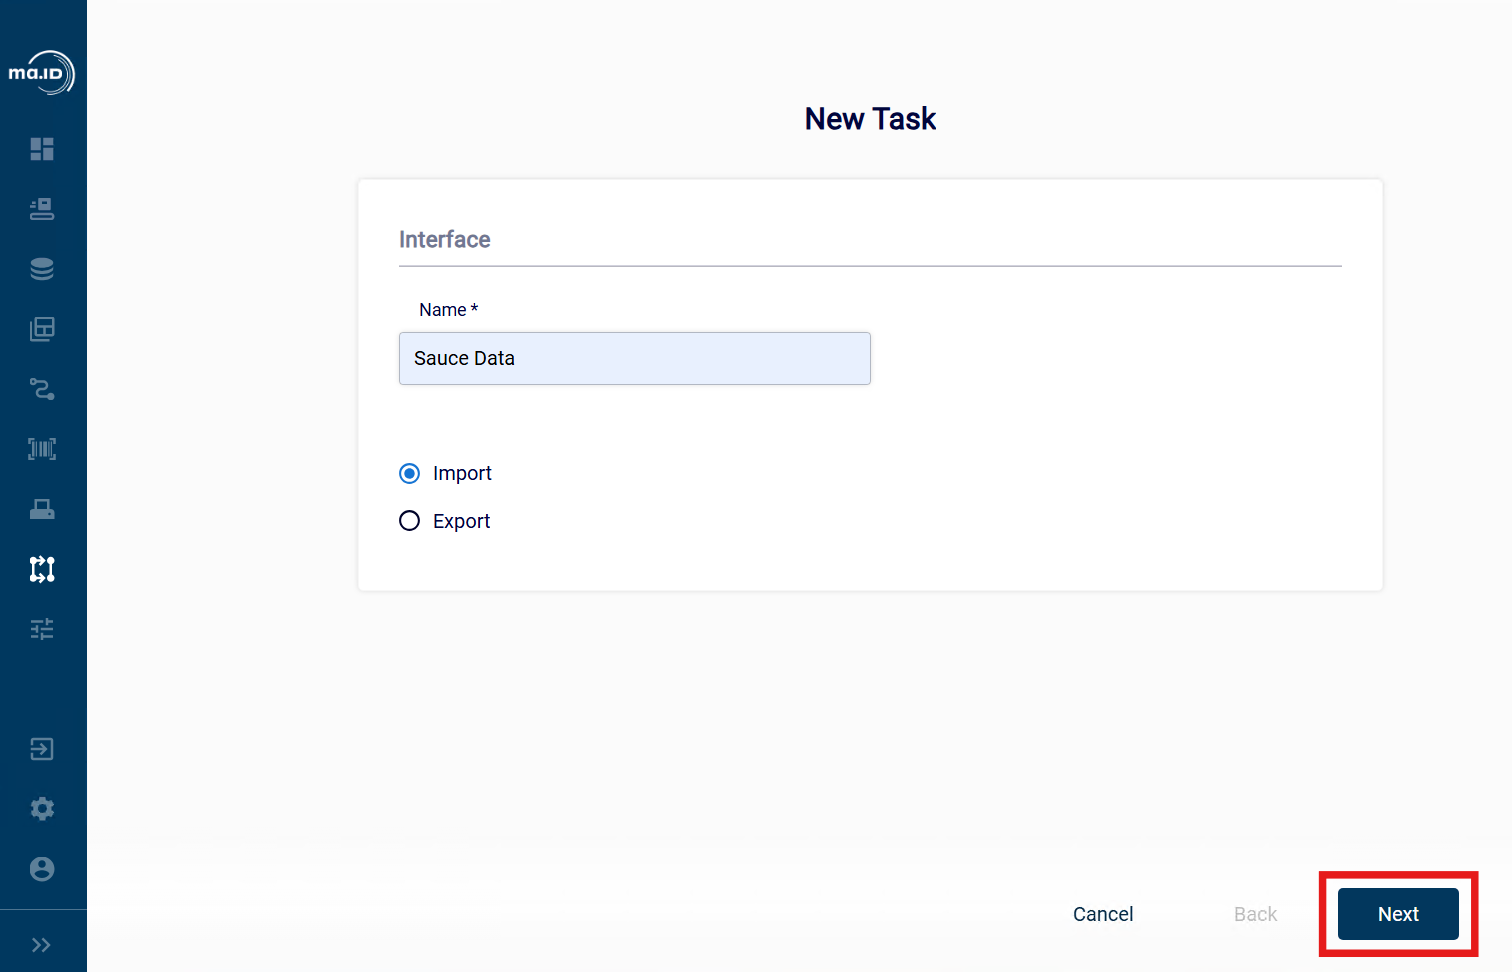
3. Enter a name for your task and select Import. A Type dropdown then appears: choose Task for a regular, field-mapped import into a master data table; Document to import label layouts; or Resource to import auxiliary printer files such as logos or fonts (only shown if the Resources Management feature is enabled). Document and Resource imports don’t use the field-mapping steps below (7–8) — they match files by name instead. The rest of this procedure describes a Task import into a master data table.
4. Click next.
The view Data Integration opens.
2. To add a new task, click the add icon +.
The view New Task opens.
3. Enter a name for your task and select Import. A Type dropdown then appears: choose Task for a regular, field-mapped import into a master data table; Document to import label layouts; or Resource to import auxiliary printer files such as logos or fonts (only shown if the Resources Management feature is enabled). Document and Resource imports don’t use the field-mapping steps below (7–8) — they match files by name instead. The rest of this procedure describes a Task import into a master data table.
4. Click next.
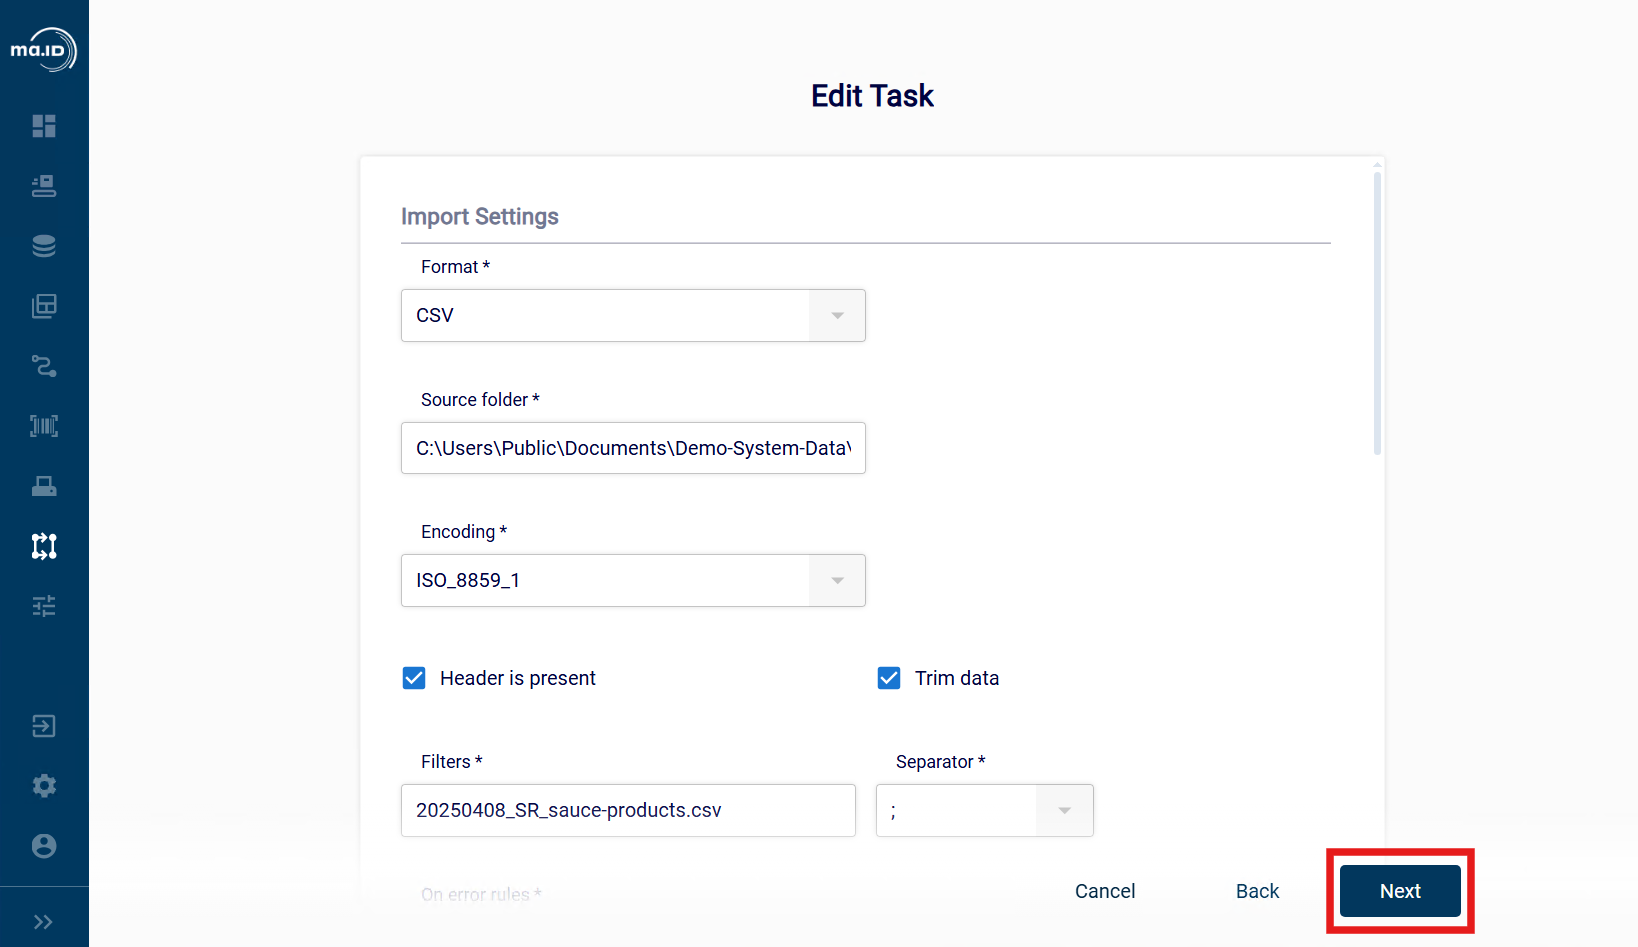
 5. Choose the source format (CSV, XML, or database connection) and enter the corresponding details: source folder, filter, and encoding; format-specific settings such as the CSV separator and header row; how to handle errors during import; how to handle the source file after a successful or an unsuccessful import; and whether to assign a status to new or updated records. Set the import task to run manually or periodically. Obligatory fields are marked with an asterisk. For more information on the form fields, see Overview - Fields for Import Tasks.
6. Click Next.
5. Choose the source format (CSV, XML, or database connection) and enter the corresponding details: source folder, filter, and encoding; format-specific settings such as the CSV separator and header row; how to handle errors during import; how to handle the source file after a successful or an unsuccessful import; and whether to assign a status to new or updated records. Set the import task to run manually or periodically. Obligatory fields are marked with an asterisk. For more information on the form fields, see Overview - Fields for Import Tasks.
6. Click Next.
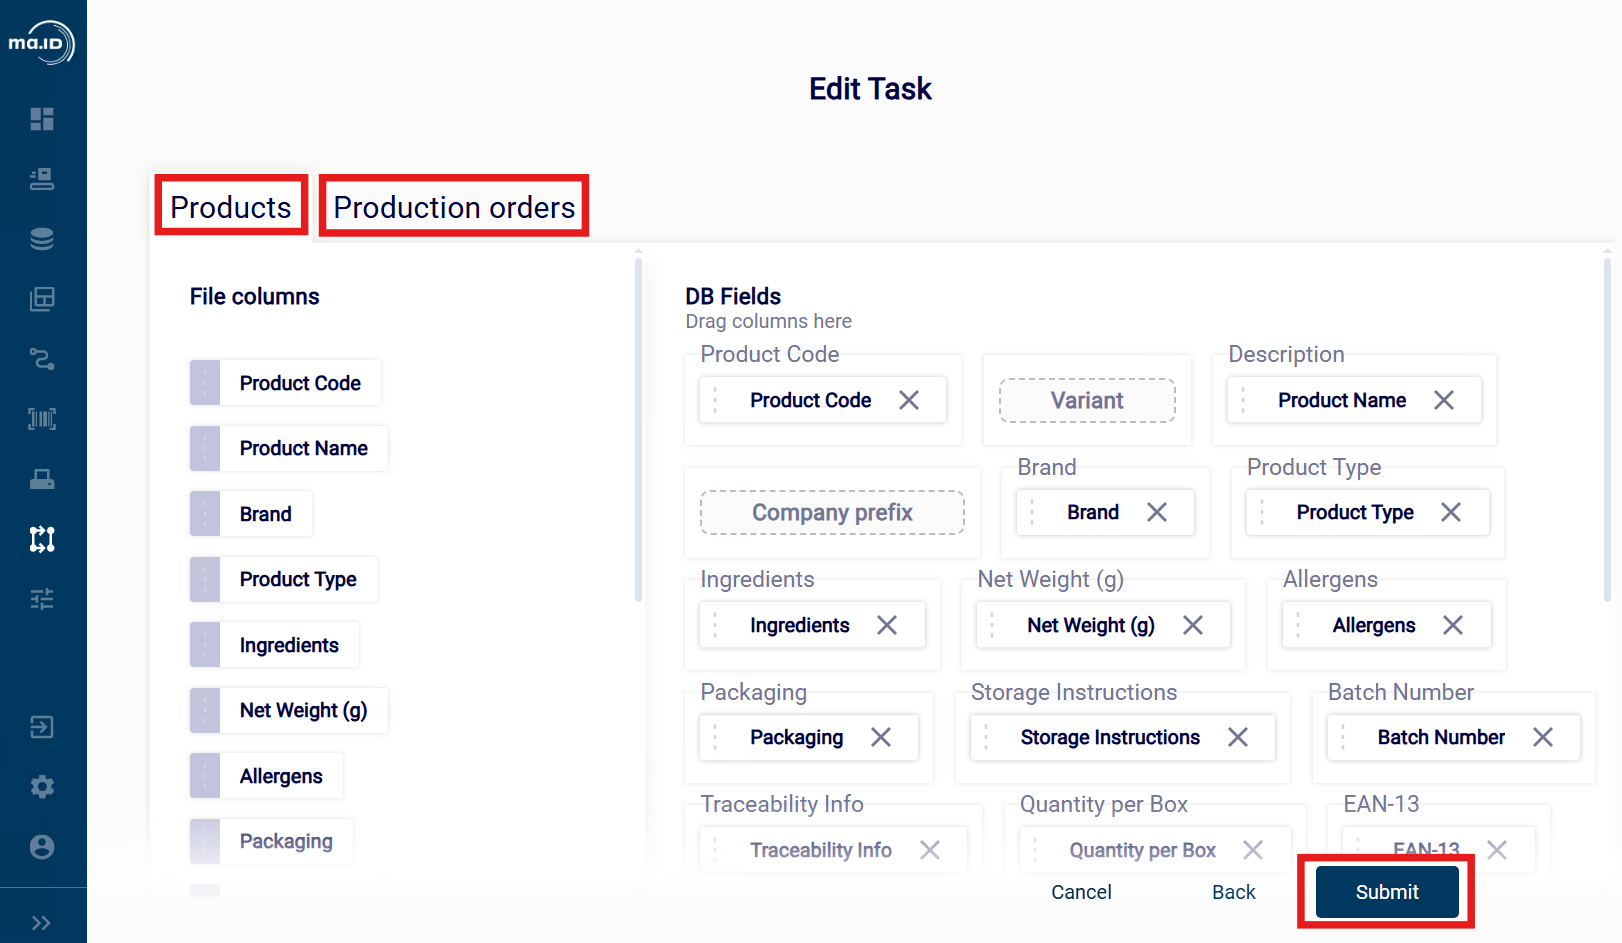
 7. The master data tables available for mapping depend on your configuration and license, and are shown as tabs (for example Product, Production Order, Various Data, Logistic Unit, or Print Job). Switch between tabs to map fields for each table you want to fill from this source. For details on the fields, matching behavior, and limitations of each table, see Master Data > Data Types.
8. Drag and drop information sources to the input fields below DB Fields; fields marked with an asterisk are mandatory. Use Custom DB Fields to create a custom field for a source column that doesn’t match a predefined field, or click Assign to Custom to automatically assign all remaining, unmapped source columns to new custom fields.
9. Click Submit to save the task.
7. The master data tables available for mapping depend on your configuration and license, and are shown as tabs (for example Product, Production Order, Various Data, Logistic Unit, or Print Job). Switch between tabs to map fields for each table you want to fill from this source. For details on the fields, matching behavior, and limitations of each table, see Master Data > Data Types.
8. Drag and drop information sources to the input fields below DB Fields; fields marked with an asterisk are mandatory. Use Custom DB Fields to create a custom field for a source column that doesn’t match a predefined field, or click Assign to Custom to automatically assign all remaining, unmapped source columns to new custom fields.
9. Click Submit to save the task.
Results
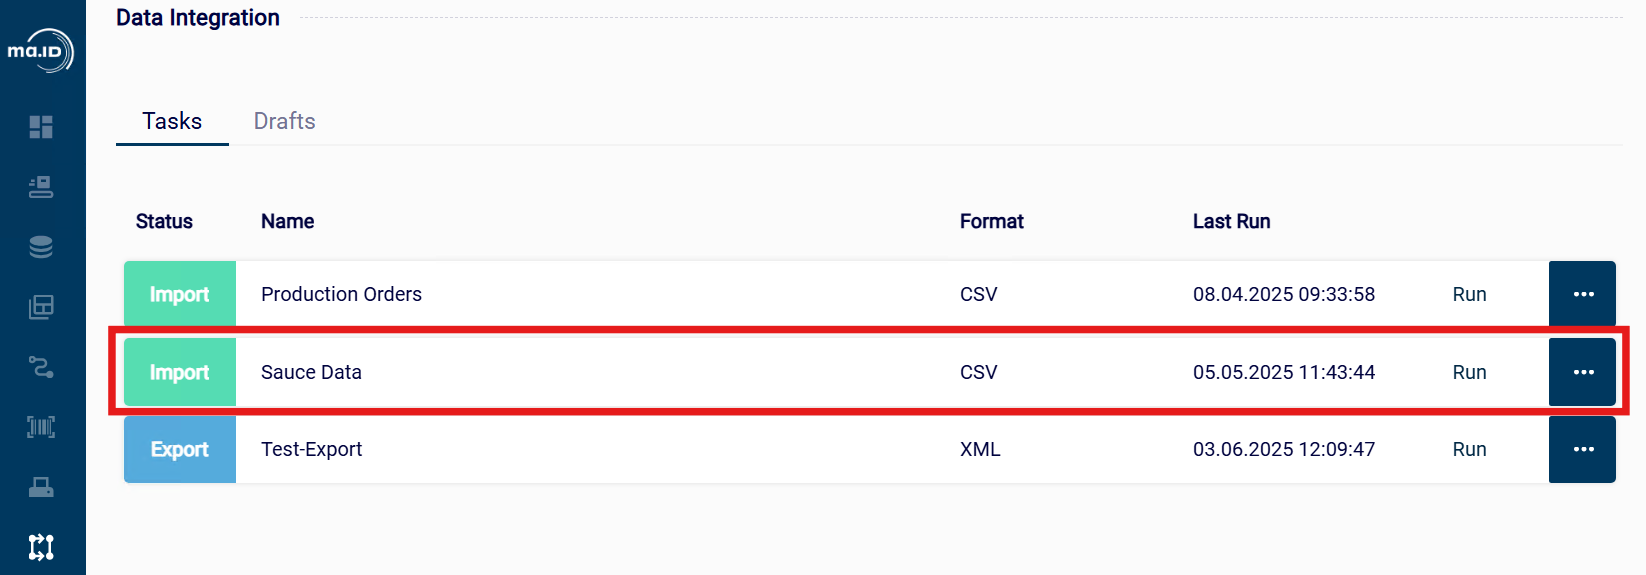
You have created an import task for a file. Your new import task is shown in the overview in Data Integration > Import & Export.
What to do next
- Manage master data.
- Define tags.
- Learn about the individual master data types you can import.